AMQP
The Advanced Message Queuing Protocol (AMQP) is an open standard application layer protocol for message-oriented middleware. The defining features of AMQP are message orientation, queuing, routing, reliability and security.
The chosen AMQP implementation for this project is RabbitMQ, but it can be easily switched to for example Amazon's AMQP solution.
Registering new queues
To be able to queue your first message, you'll need to add a queue first.
Just create a new class (preferably in the write model) that extends CommandQueue
and add the required AsAmqpQueue attribute to it:
#[AsAmqpQueue(name: 'user-command-queue', numberOfWorkers: 1)]
class UserCommandQueue extends CommandQueue
{
}
That's it, easy right?
Queueing commands
At this point you should be set up to start queueing commands. Inject your command queue in the class where
you want to queue commands and call the queue() method:
class YourService
{
    public function __construct(
        private readonly UserCommandQueue $userCommandQueue
    ) {
    }

    public function aMethod(): void
    {
        $this->userCommandQueue->queue(new CreateUser(/*...*/));
    }
}
It's also possible to queue multiple commands at once:
$this->userCommandQueue->queueBatch([
    new CreateUser(/*...*/),
    new CreateUser(/*...*/),
    new CreateUser(/*...*/)
]);
Consuming your queue
To process messages, each of your queues needs at least one consumer. You can start consuming a queue by executing
docker-compose run --rm php-cli bin/console app:amqp:consume user-command-queue
Where user-command-queue is the name defined in the AsAmqpQueue attribute of your queue class.
This command will run as long as needed and will keep consuming commands as soon as they
are pushed to the queue.
Systemd
On a production environment you'll probably want to run this command as a background process.
You can do this by using systemd. SSH into your server and navigate to ∼/.config/systemd/user.
There create a file named [email protected] and add the following contents:
[Unit]
Description=Platform app:amqp:consume user-command-queue #%i
After=network-online.target
Requires=dbus.socket

[Service]
WorkingDirectory=[DIRECTORY-TO-ROOT-OF-APP]
ExecStart=bash -cl "php -f [DIRECTORY-TO-ROOT-OF-APP]/bin/console app:amqp:consume user-command-queue"
Restart=always
RestartSec=10s

[Install]
WantedBy=default.target
Then start the process by running:
systemctl --user enable [email protected]
systemctl --user start [email protected]
This flow can be easily automated to set up new consumers after every new deploy.
Failed queues
By default, when an exception is thrown while processing a command, the command will be automatically pushed to a corresponding failed queue. This can be used as some kind of log where you can see the commands that failed to be processed.
In this example, every failed command from the user-command-queue will be pushed to
user-command-queue-failed. The CommandQueueWorker will automatically take care of this
    public function processFailure(Envelope $envelope, AMQPMessage $message, \Throwable $exception, Queue $queue): void
    {
        /** @var \App\Infrastructure\CQRS\DomainCommand $command */
        $command = $envelope;
        $command->setMetaData([
            'exceptionMessage' => $exception->getMessage(),
            'traceAsString' => $exception->getTraceAsString(),
        ]);

        $this->failedQueueFactory->buildFor($queue)->queue($command);
    }
A failed queue has no consumer attached to it, and thus, cannot be consumed. This means that the messages will stay on the queue until they are manually deleted.
Delayed queues
In more advanced use cases you might want to delay the consumption of commands, for example:
- a digist mail that summarizes all content changes occurred in the last 30 minutes
- requeue a failed message automatically after 15 seconds
- ...
You can do this by pushing the message to it's corresponding delayed queue:
$this->delayedQueueFactory->buildWithDelayForQueue(15, $queue)->queue($command);
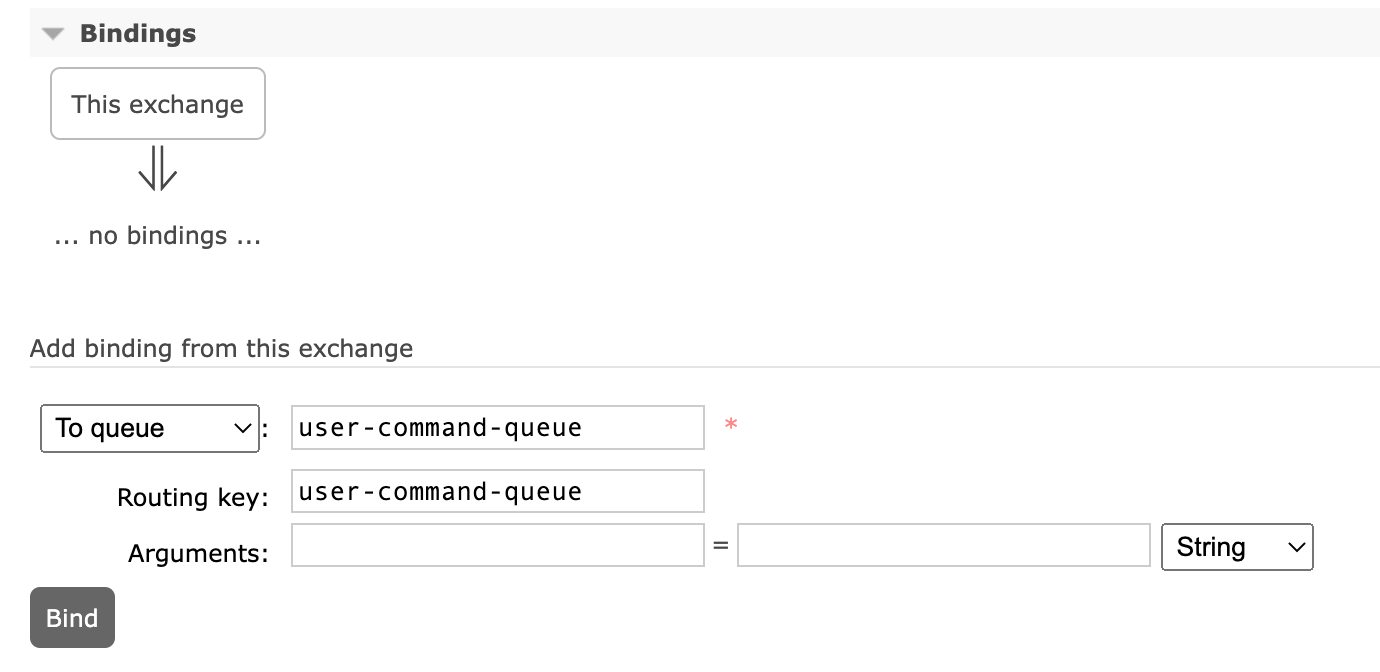
For a delayed queue to work properly you'll have to do two things in the RabbitMQ Management UI:
- Add a new exchange with the name
dlx - Make sure the queue is defined as a binding on the
dlxexchange, where the routing key of the binding is the command queue name to where it has to be routed.
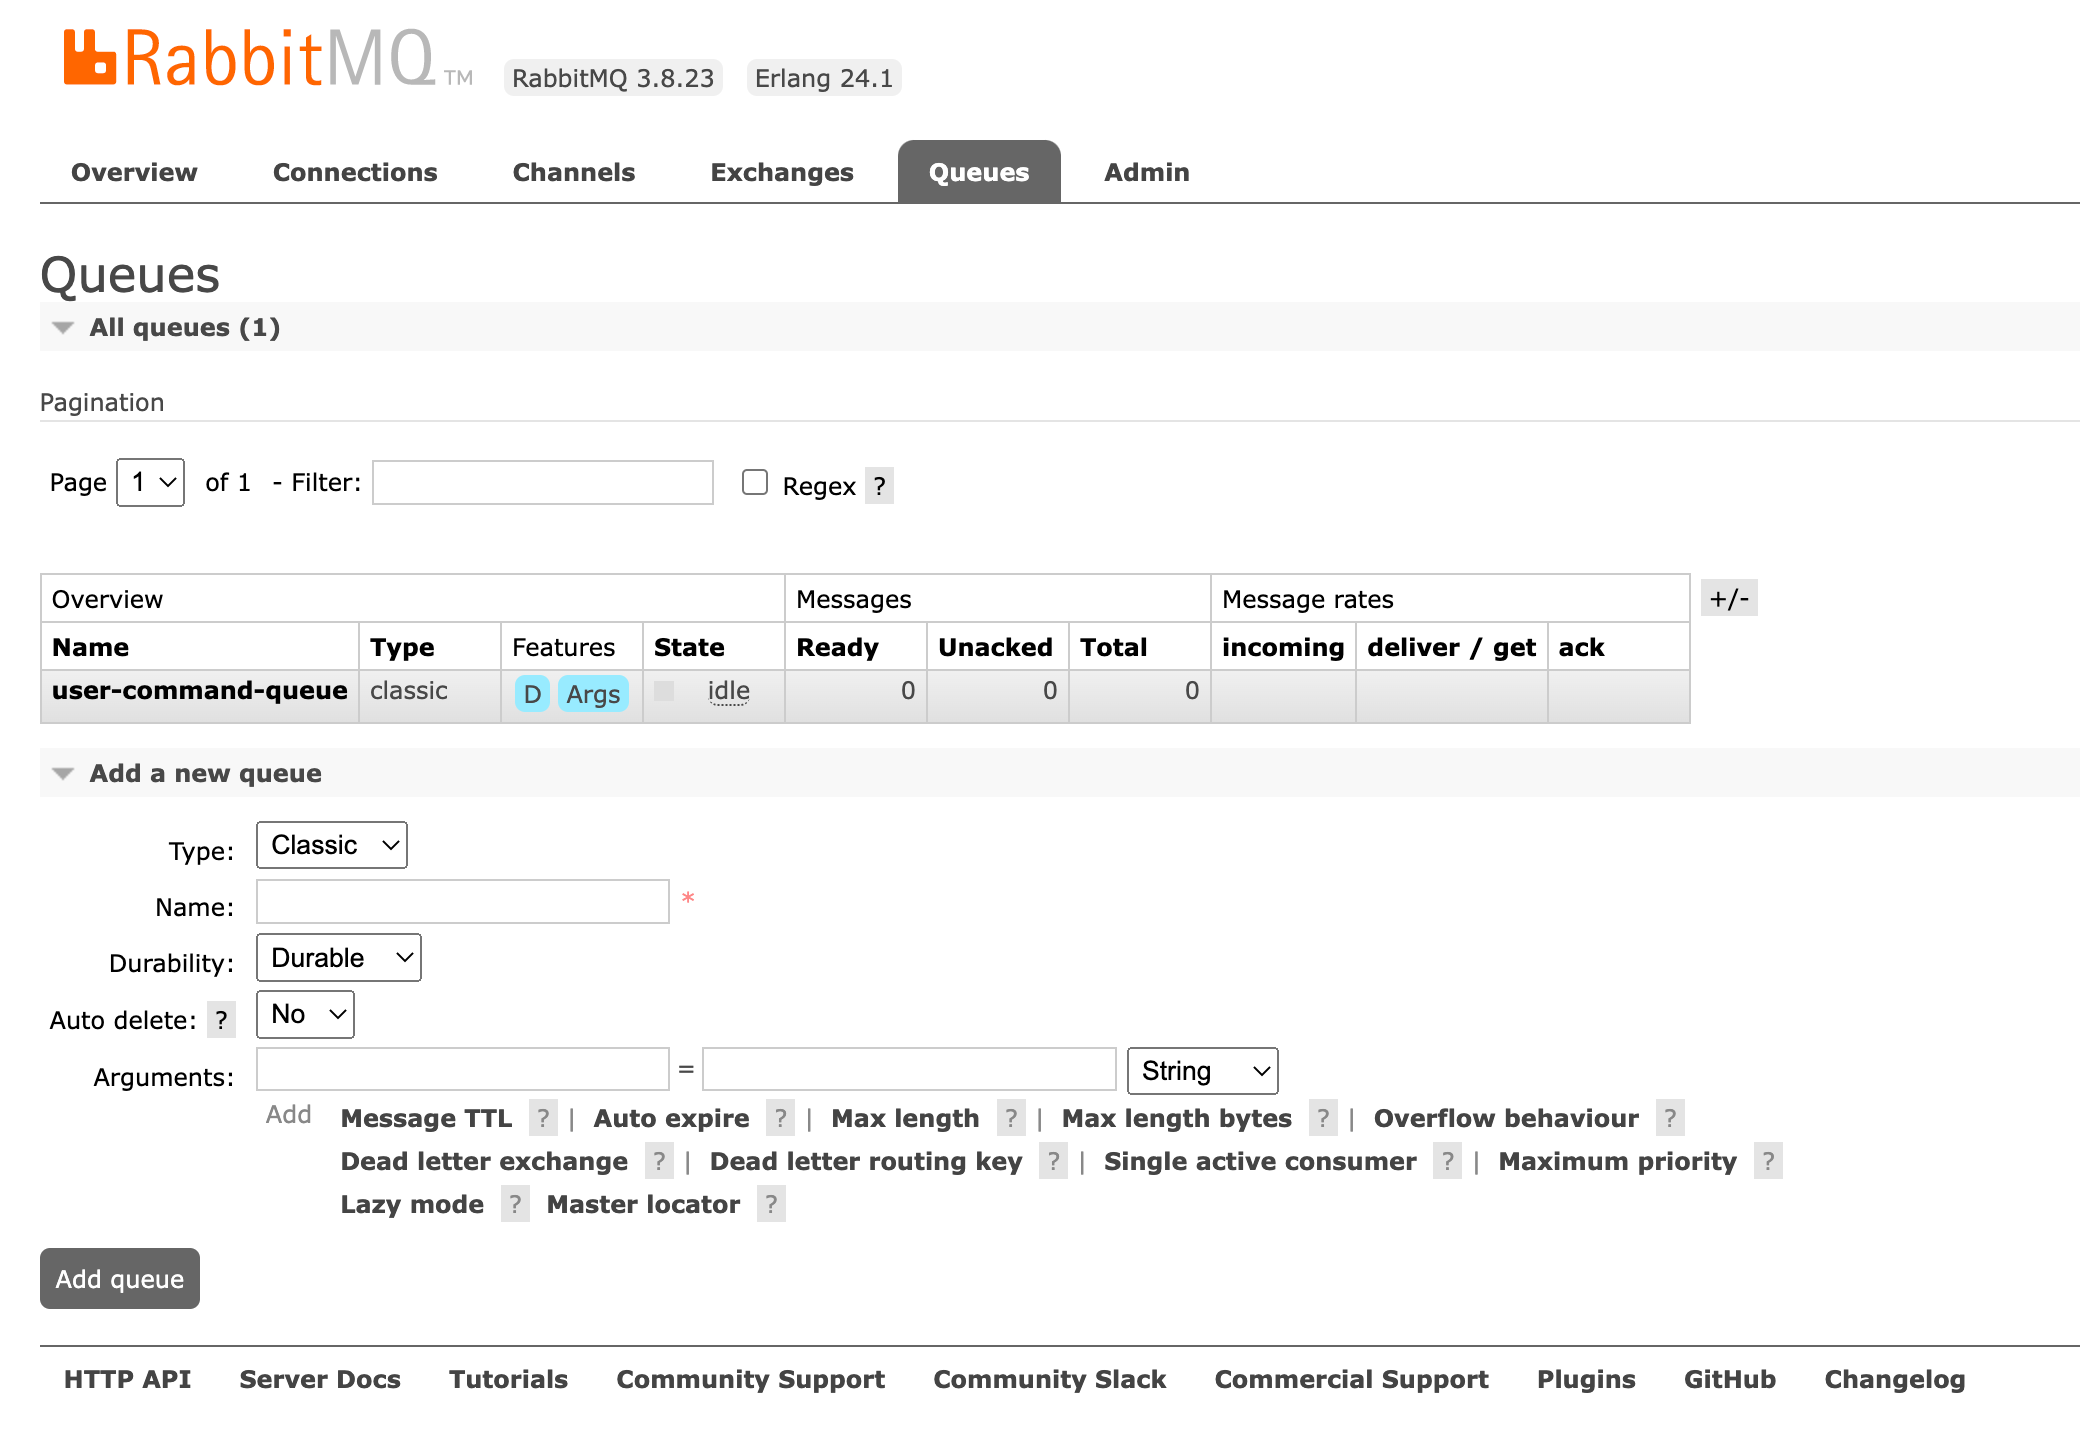
RabbitMQ Management
RabbitMQ has a management UI module. Navigate to http://localhost:15672/ and login with rabbitmq/rabbitmq. There you will be able to see and manage your queues, messages, exchanges, ...